
- Как получить задание Когда проявляется свет Хварны в Genshin Impact
- Как пройти Когда проявляется свет Хварны в Genshin Impact
- Поговорите с Зурван
- Отправляйтесь к озеру Шуньята
- Поговорите с Соруш
- Позвольте Соруш прикоснуться к великой песне Хварны
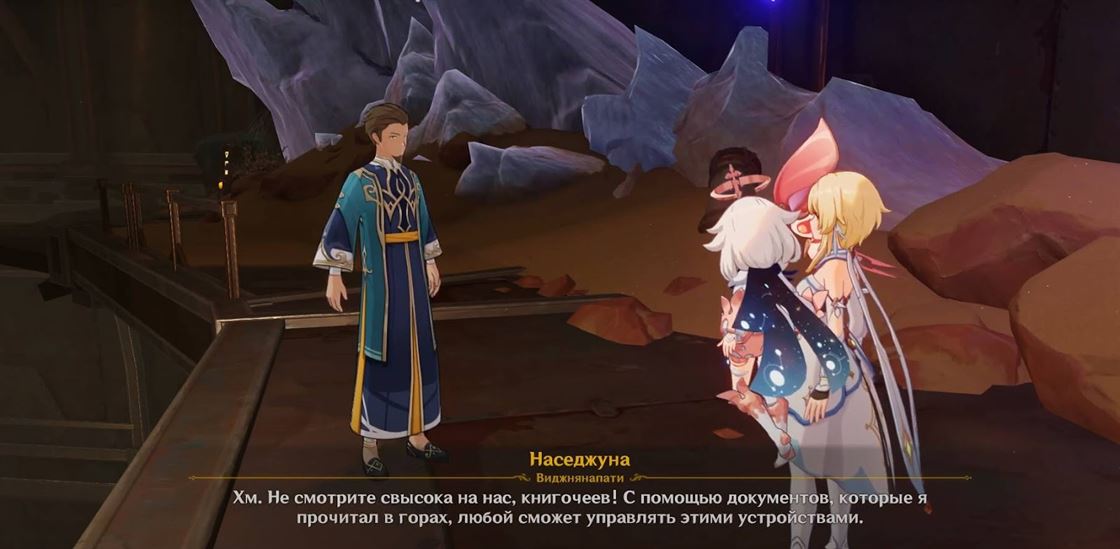
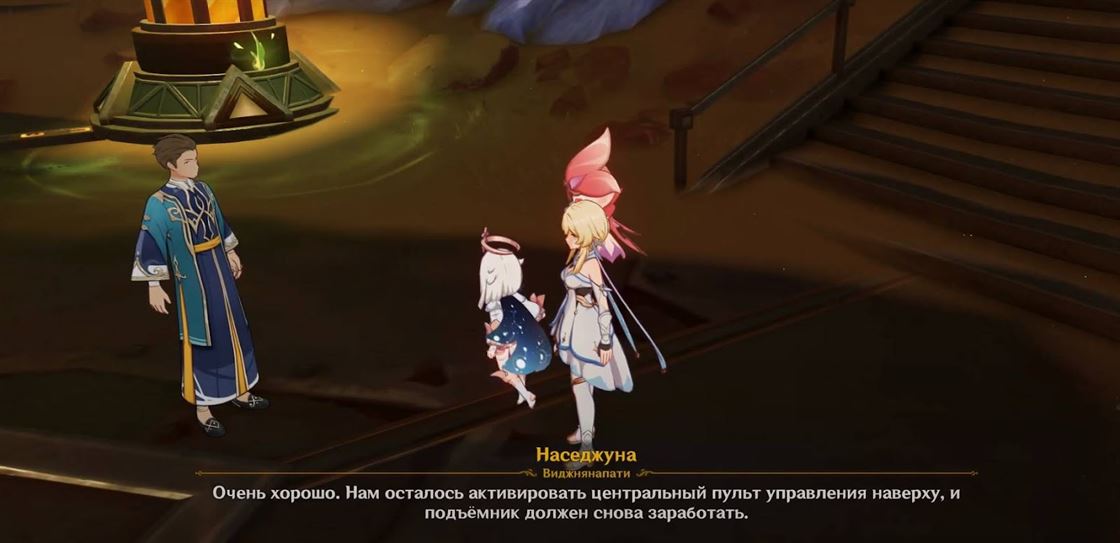
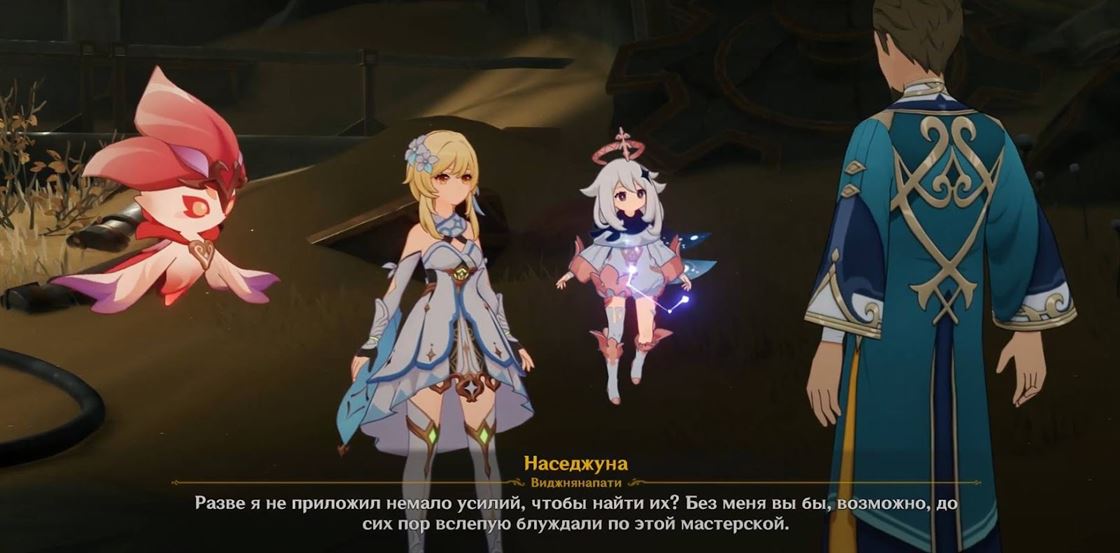
- Поговорите с Наседжуной
- Найдите великие песни Хварны
- Ниродха
- Самудая
- Дукха
- Найдите последнюю великую песнь Хварны
- Идите дальше
- Поговорите с Наседжуной
- Войдите в руины
- Поговорите с Наседжуной
- Используйте ядро духа, чтобы соединить цепь и активировать левую дверь механизма
- Поговорите с Наседжуной
- Найдите второе ядро духа
- Соедините цепь и активируйте правую дверь механизма
- Войдите в пространство с правой стороны
- Найдите третье ядро духа
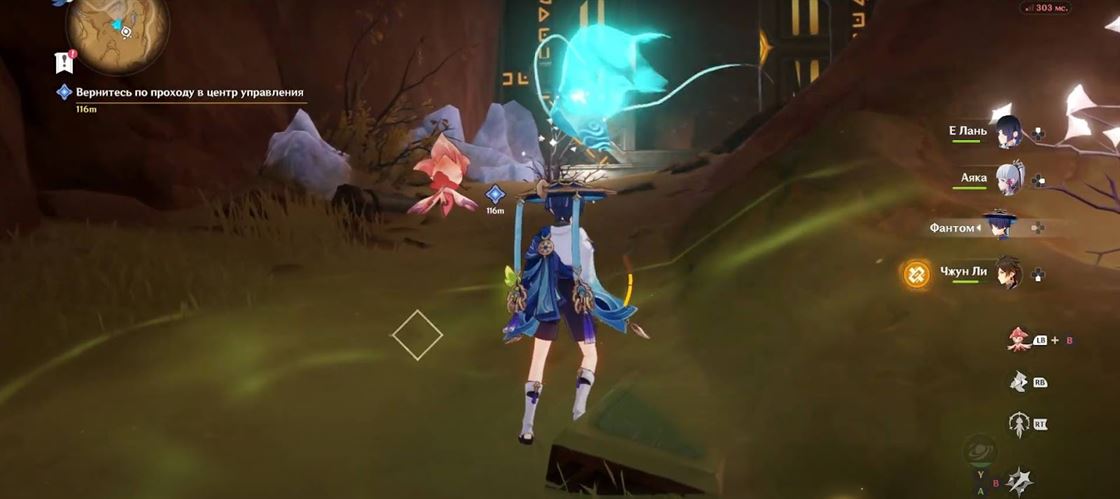
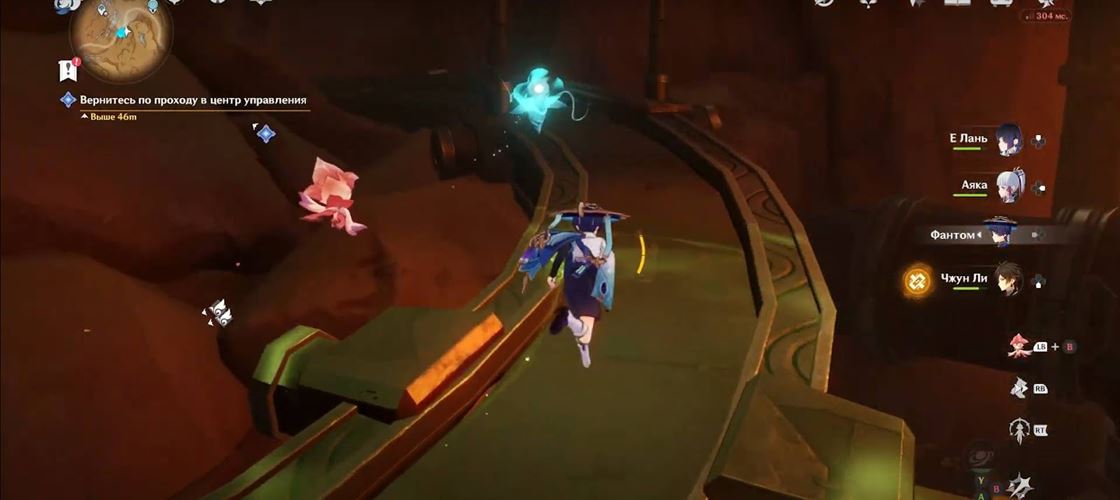
- Вернитесь по проходу в центр управления
- Подсоедините три устройства около подъёмника
- Поговорите с Наседжуной
- Активируйте центральный пульт управления
- Идите к подъёмнику
- Спуститесь вниз на подъёмнике
- Получите последнюю великую песнь Хварны
- Победите Наседжуну и Чтеца Бездны
- Поговорите с Соруш
- Награды
- Видео-гайд
Когда проявляется свет Хварны в Genshin Impact — четвертое по счету задание в рамках сюжетной цепочки “Хварна добра и зла”. В ходе предыдущих квестов мы встретились с другими представителями народа пари.
В этом гайде разберемся, как получить и пройти задание, что нужно делать в ходе выполнения, как найти великие песни Хварны и какая награда предусмотрена за успешное завершение.
Как получить задание Когда проявляется свет Хварны в Genshin Impact
Поскольку это сюжетное продолжение цепочки квестов “Хварна добра и зла”, достаточно завершить предыдущее задание, и выполнение этой части начнется автоматически. Просто открываем журнал заданий и выбираем этот квест в качестве активного, после чего приступаем к прохождению.

Как пройти Когда проявляется свет Хварны в Genshin Impact
Поговорите с Зурван
После выполнения прошлых квестов сюжетной цепочки возвращаемся к оазису, направляемся в сторону квестового маркера и разговариваем с Зурван. В ходе диалога Соруш получает двурогий венец.
Вновь разговариваем с союзниками и ждем завершения диалога, после чего приступаем к следующему этапу задания.
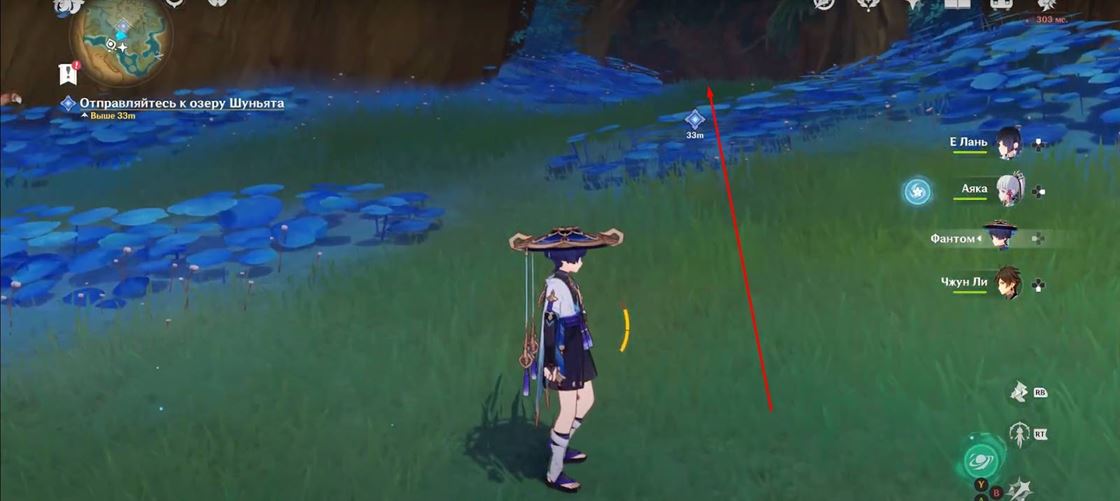
Отправляйтесь к озеру Шуньята
Нужная точка телепортации находится у Оазиса. Дополнительно куда-то телепортироваться не нужно — от места разговора с Зурван бежим в сторону квестового маркера.
Добравшись до места, появляется второй маркер, который ведет внутрь дерева. Заходим туда и идем вперед, пока не доберемся до озера Шуньята.
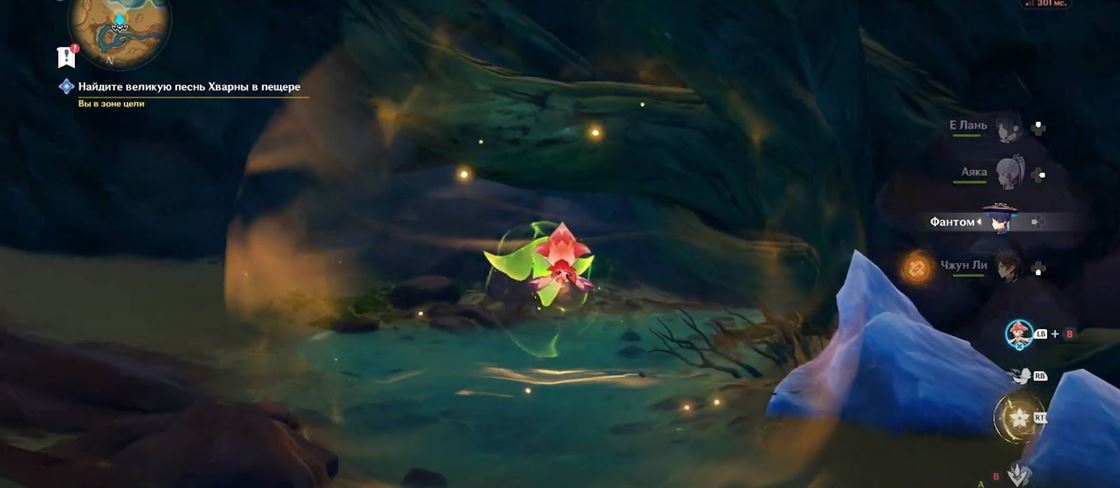
Поговорите с Соруш
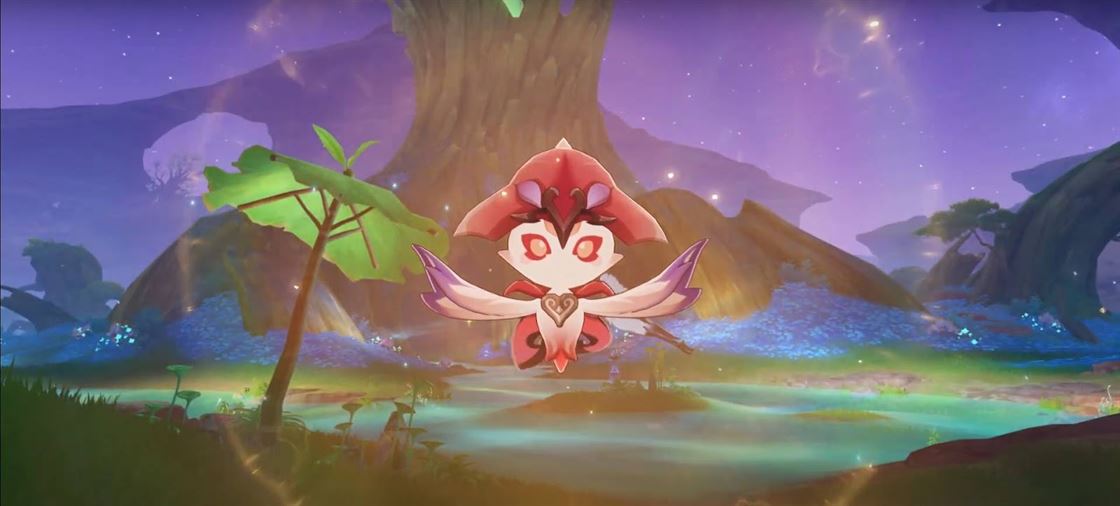
Около озера начинается диалог с Соруш. Из озера появляется большая Хварна, которую Паймон предлагает для удобства назвать Великой Хварной.
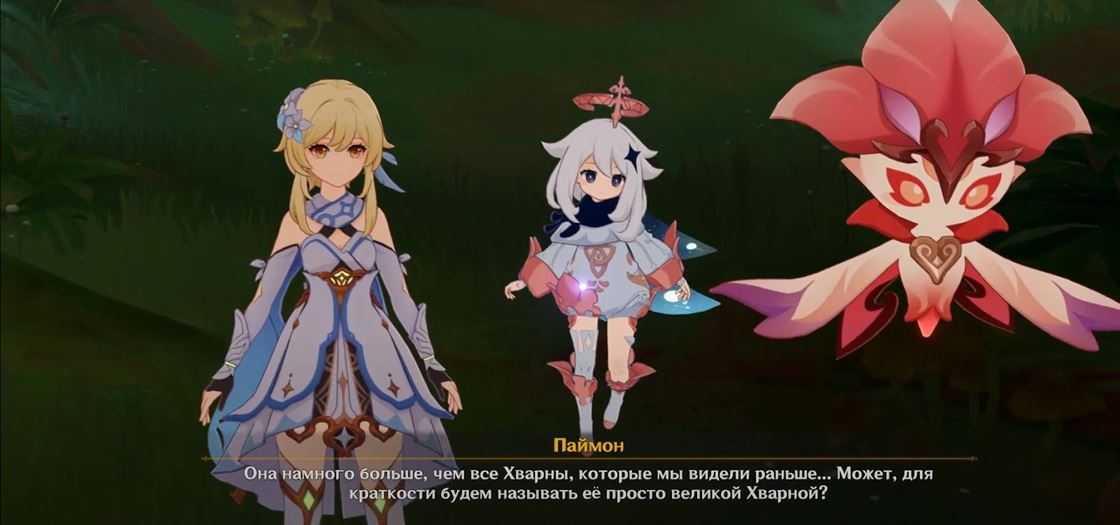
Ждем завершения диалога, на экране появляются подсказки по поводу Великих песен Хварны.

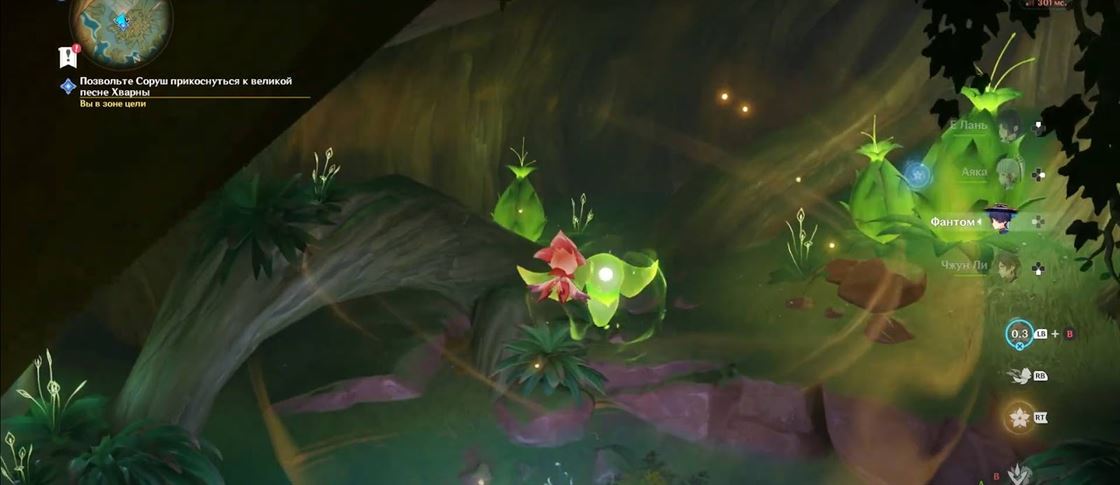
Позвольте Соруш прикоснуться к великой песне Хварны
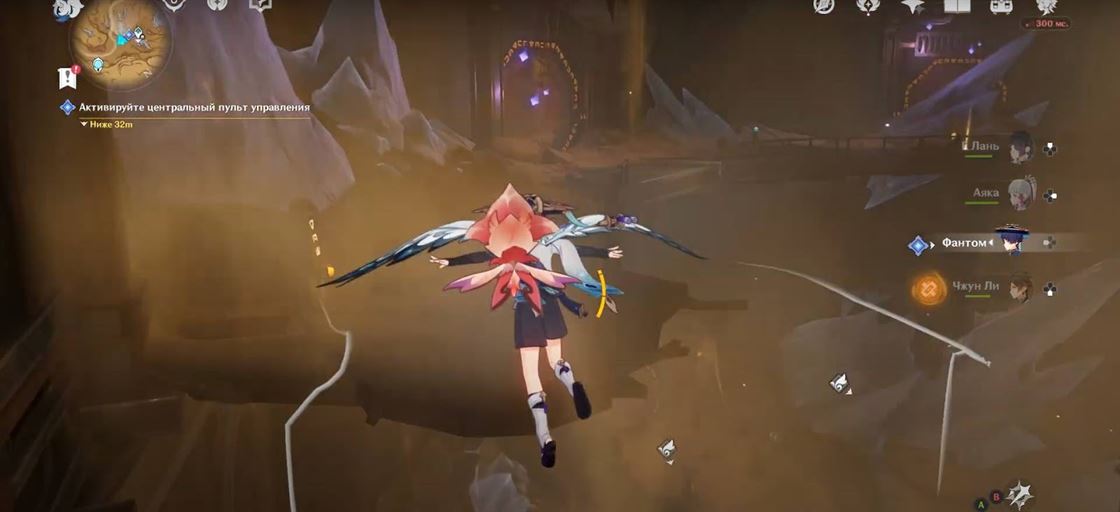
Берем управление за Соруш и летим в сторону Великой Хварны, после чего используем ее способность. Мы взяли первую Великую Хварну, но нужно найти и остальные.
Разговариваем с Соруш, чтобы обсудить дальнейший план действий и поиск других Великих Хварн.

Соруш продолжает вести себя высокомерно и требует довериться ей. Ждем завершения диалога.

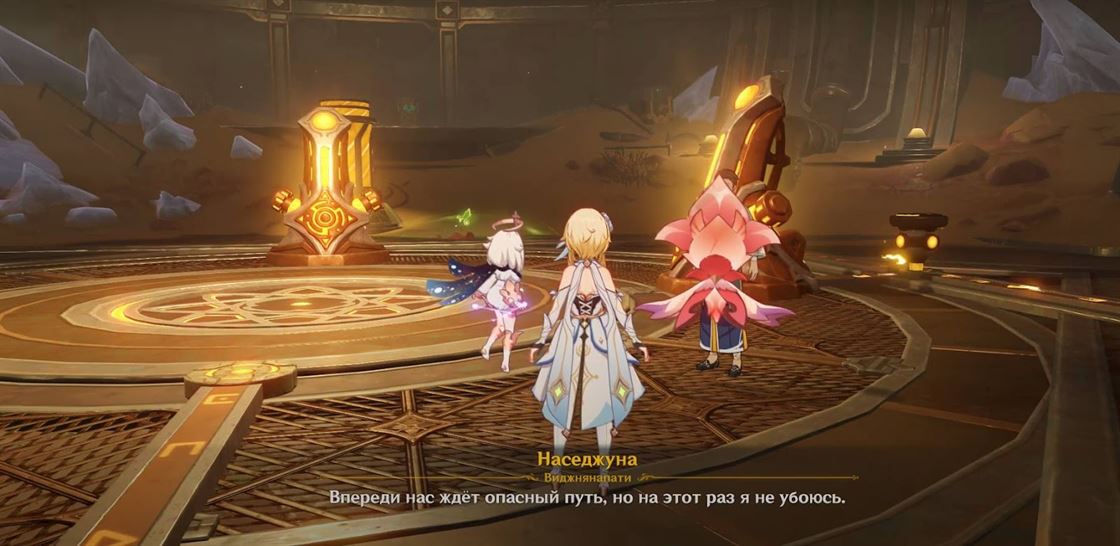
Поговорите с Наседжуной
Возвращаемся в горы Темир, чтобы поговорить с главой ордена скептиков. Легче всего туда можно добраться от статуи Архонта, который находится недалеко от их лагеря.

После телепортации пешком добираемся до места, где мы впервые встретили Наседжуну. Туда ведет квестовый маркер, так что с поисками проблем не будет.
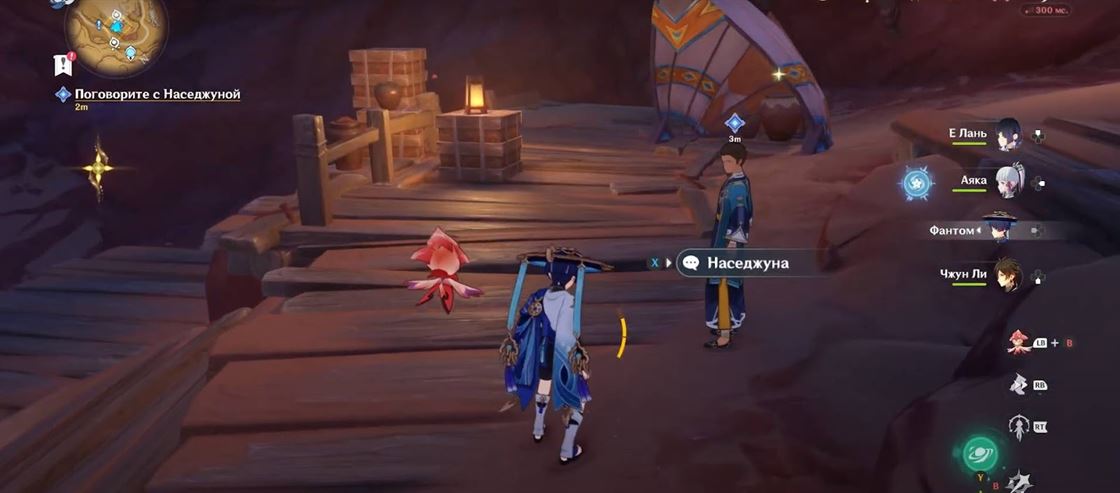
Разговариваем с ним, обсуждаем план, продолжаем прохождение.
Найдите великие песни Хварны
Наша следующая цель — найти три песни Хварны. Для этого завершаем диалог и телепортируемся к ближайшей точке телепорта.
Ниродха
Нам нужно попасть на болота.
Прыгаем и летим вниз до самых лоз.
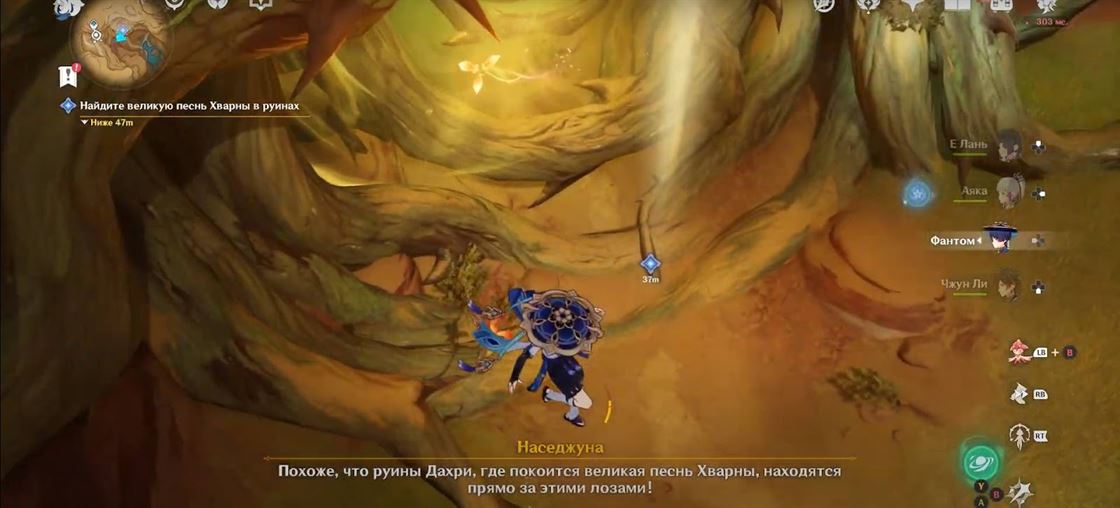
В ходе небольшой катсцены Соруш открывает проход. Идем в том направлении.
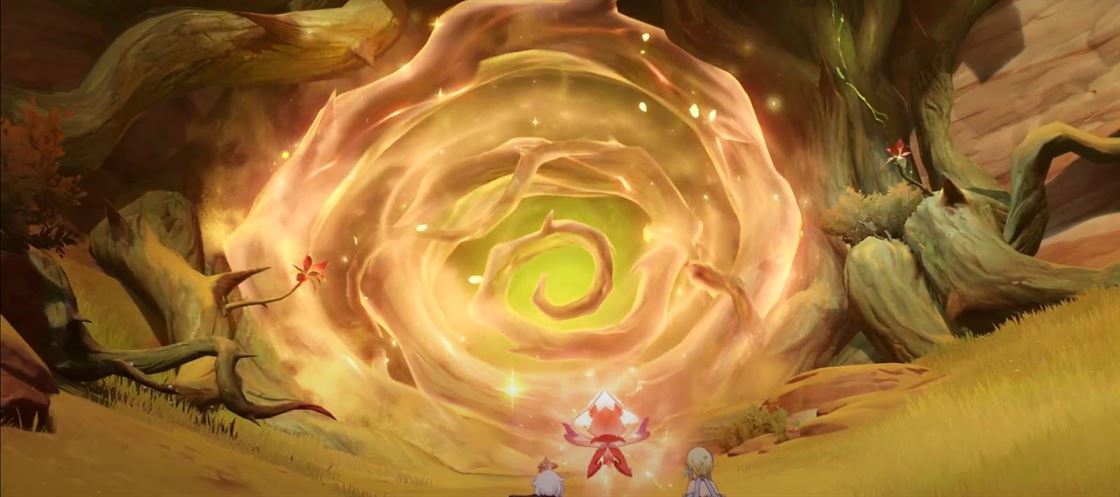
Оказываемся в подземелье, где нужно решить головоломки разных сложностей, сразиться с противниками и в конце обнаружить песню. Отдельный гайд по прохождению локации с решением всех головоломок в этой статье. За завершение этапа можно получить следующую награду:
- Примогемы (60 единиц);
- Мора (50к);
- Опыт приключений (500 единиц);
- Опыт героя (5 единиц);
- Волшебная руда усиления (6 единиц).
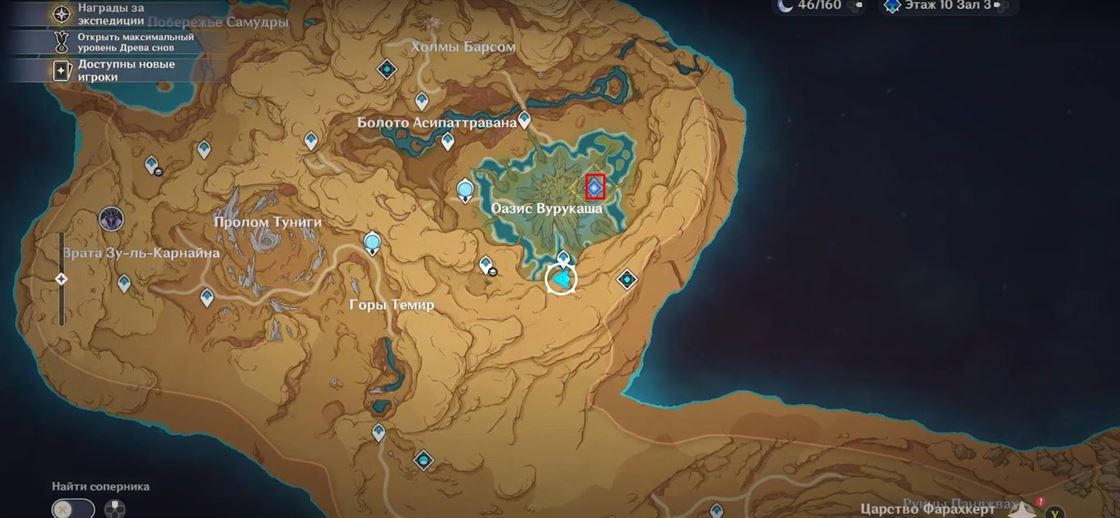
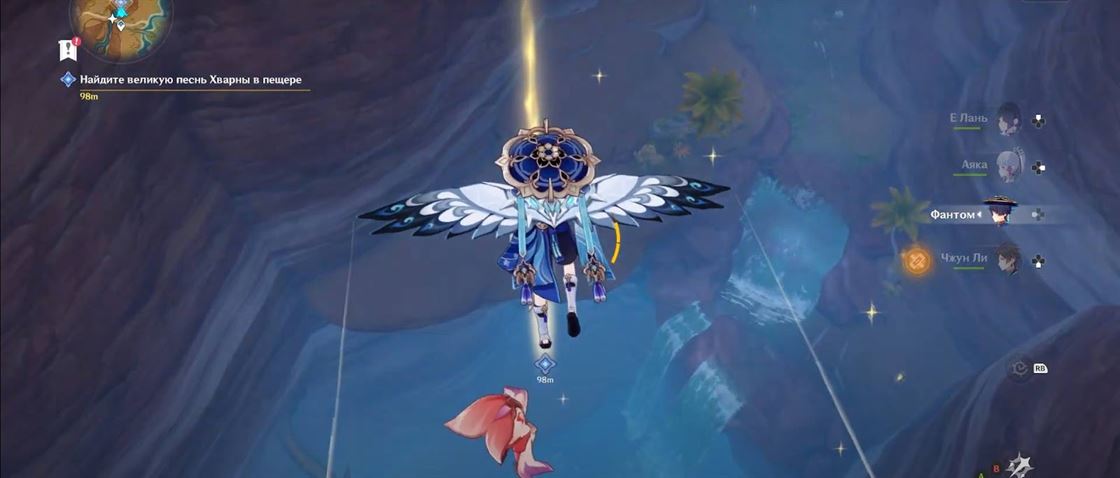
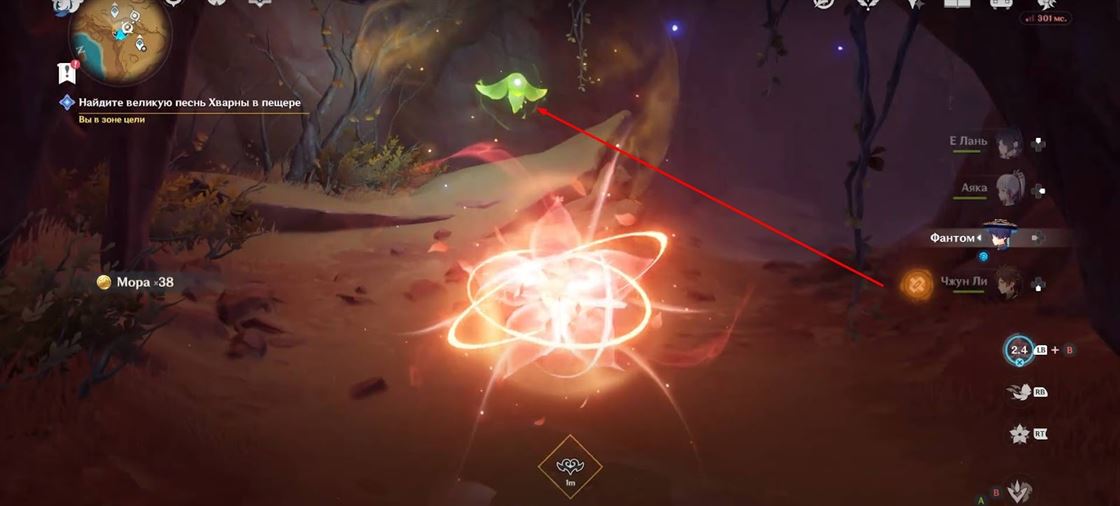
Самудая
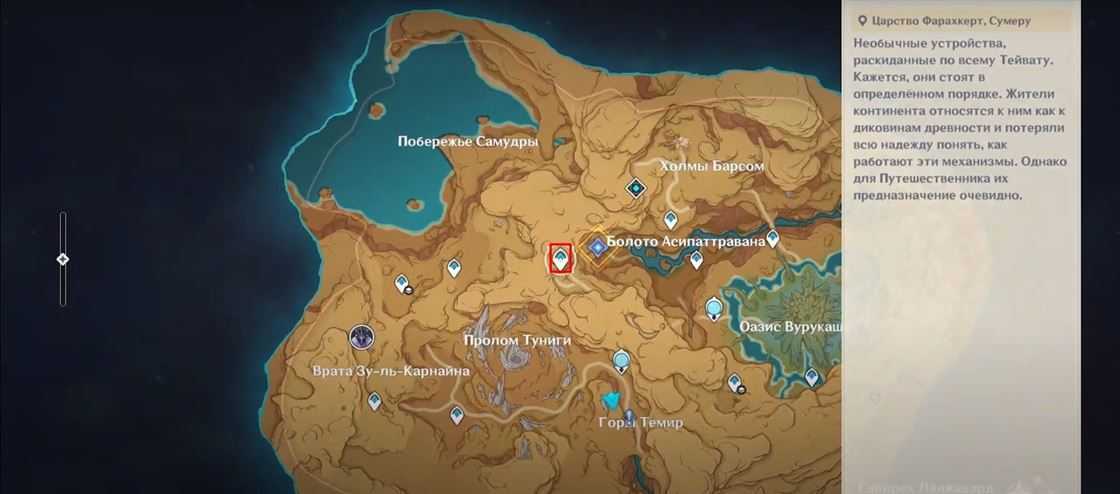
С Самудаей и Дукхой проблем возникнуть не должно, тут не нужно проходить отдельные сложные подземелья и подквесты. Сначала телепортируемся в точку между оазисом и болотами (смотрим скриншот).

От указанной точки движемся в сторону квестового маркера. Прыгаем и летим вниз.
Первый маркер приводит нас ко входу в пещеру. Заходим и идем до самого конца.
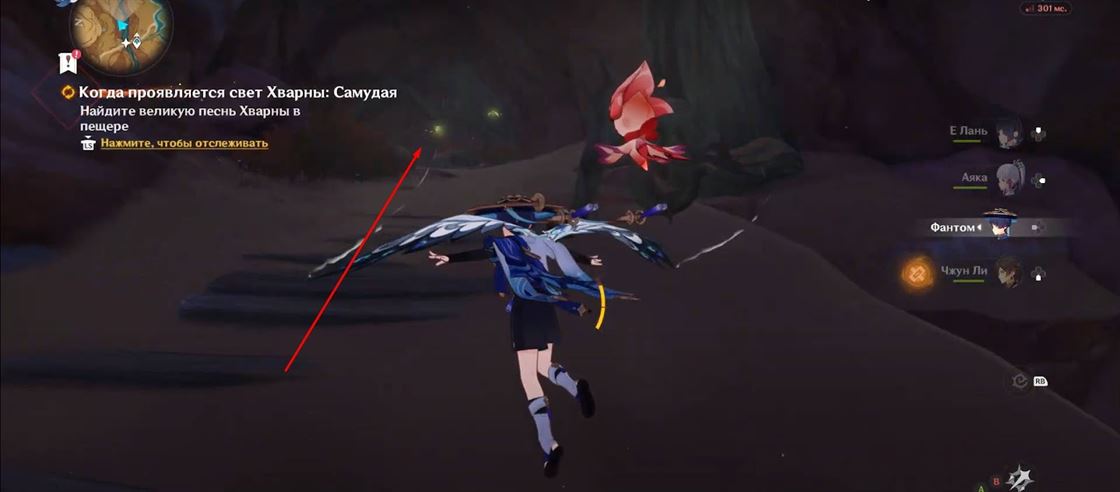
При помощи четырехлистных символов добираемся до корней, блокирующих наш путь.

Чтобы открыть проход дальше, экипируем Соруш, берем за нее управление и удерживаем кнопку ее способности (наподобие долгой Е-шки). Проход открывается.

Летим, находим песнь Хварны, используем ее способность чтобы забрать. На этом этап Самудая завершается.
За этот этап отдельно выдается награда, а именно:
- Примогемы (20 единиц);
- Опыт приключений (100 единиц);
- Мора (x10к).
Завершаем этот этап и приступаем к Дукхе.
Дукха
Телепортируемся в точку недалеко от Пролома Туниги, как указано на скриншоте.

Двигаемся дальше, пока не окажемся у квестового маркера, который приводит нас ко входу в пещеру.

Заходим внутрь и движемся в сторону следующего квестового маркера.

Идем дальше, пока не увидим гидро слаймов и не наткнемся на Великую Хварну. Уничтожаем мобов, берем Соруш и используем ее способность, чтобы забрать песнь.
За завершение этого этапа выдается следующая награда:
- Примогемы (20 единиц);
- Опыт приключений (100 единиц);
- Мора (10к).
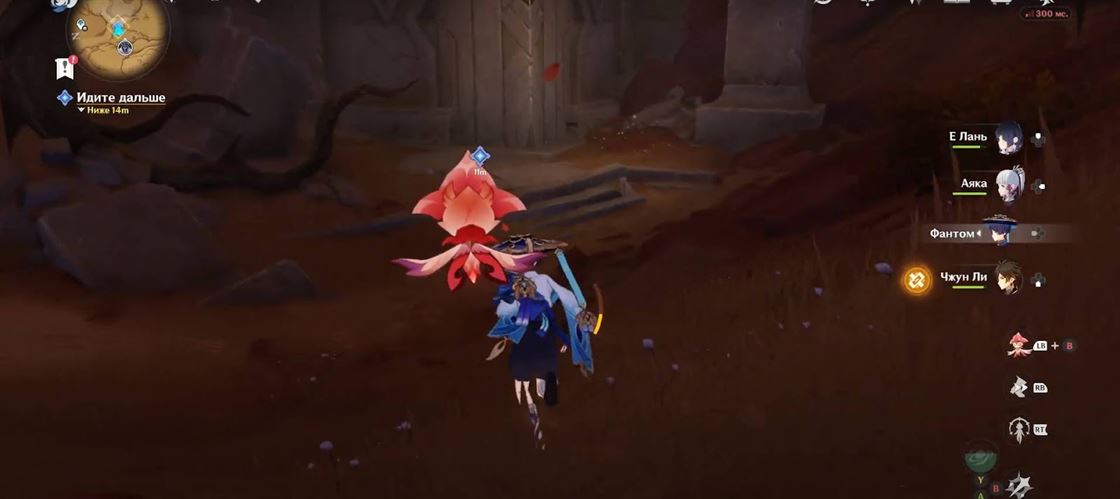
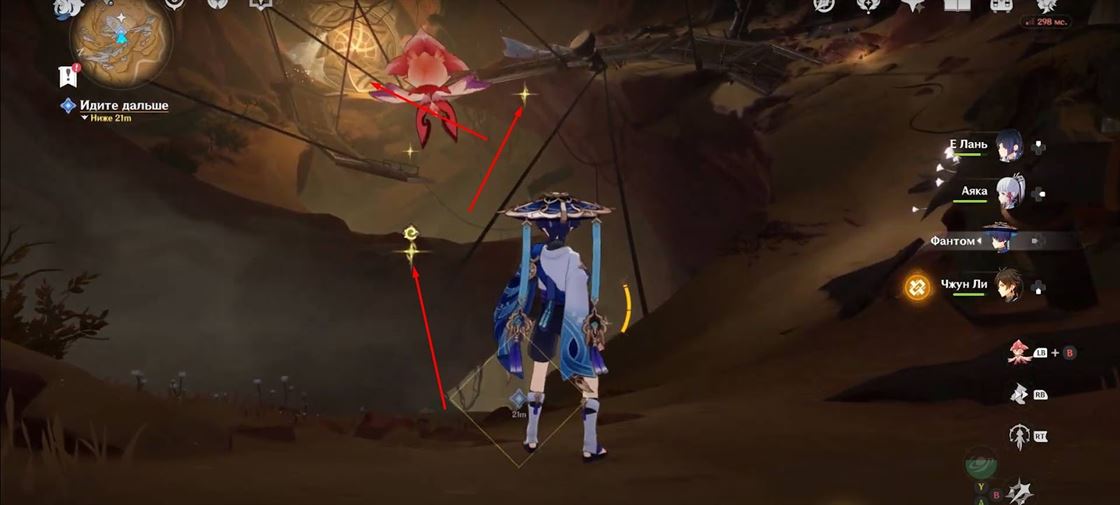
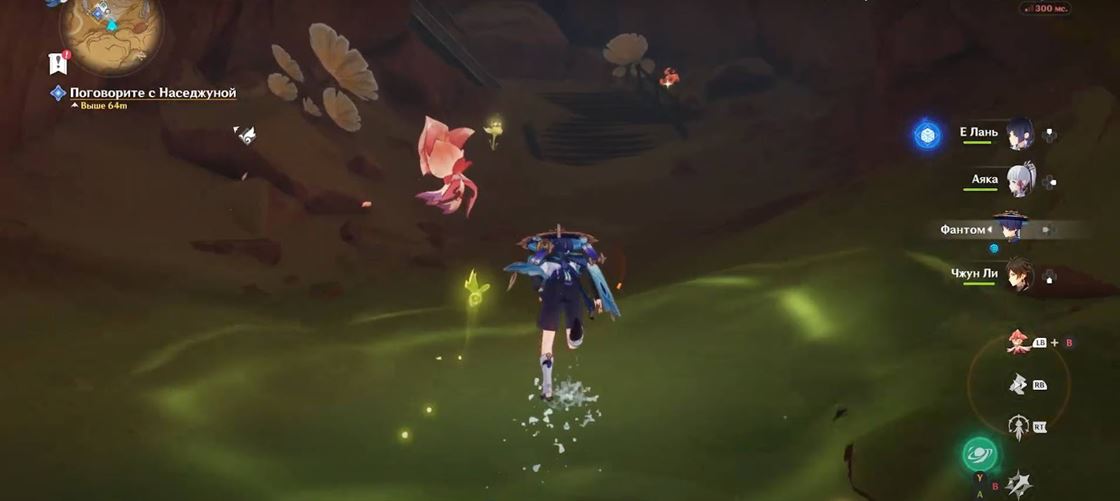
Найдите последнюю великую песнь Хварны
Телепортируемся к ближайшей от квестового маркера точке и идем вперед, пока не доберемся до входа в пещеру.

Идите дальше
Заходим в пещеру и двигаемся дальше, пока не наткнемся на закрытую дверь, где дальше пройти нельзя. Именно в этом моменте начинается диалог.
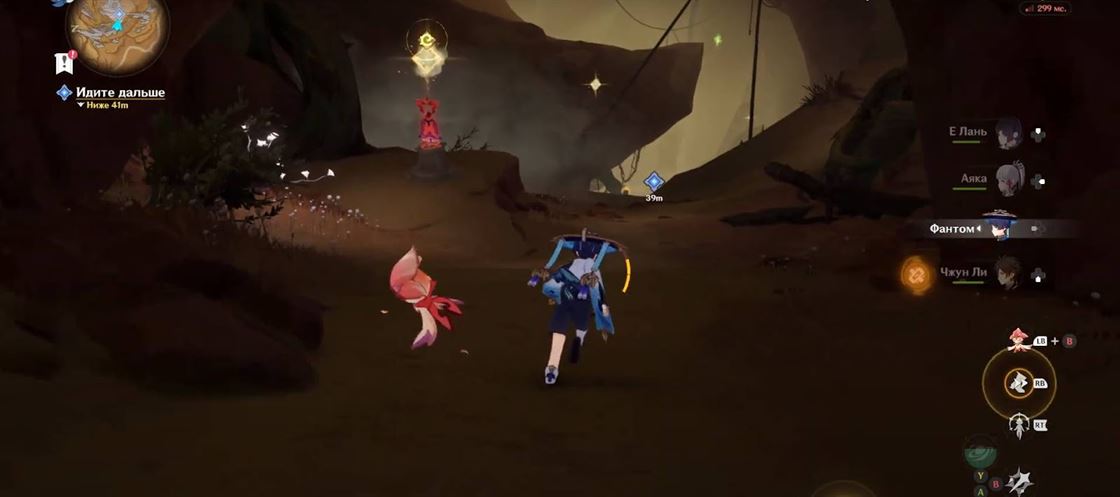
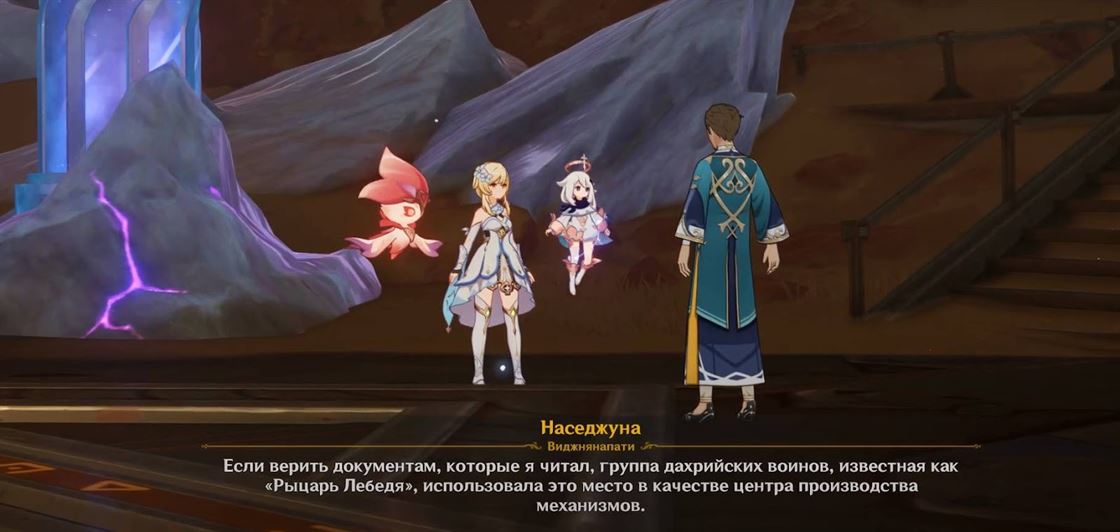
Поговорите с Наседжуной
Разговариваем с Наседжуной, чтобы обсудить дальнейший план действий и возможность открыть дверь. В ходе катсцены союзник сам открывает для нас проход.

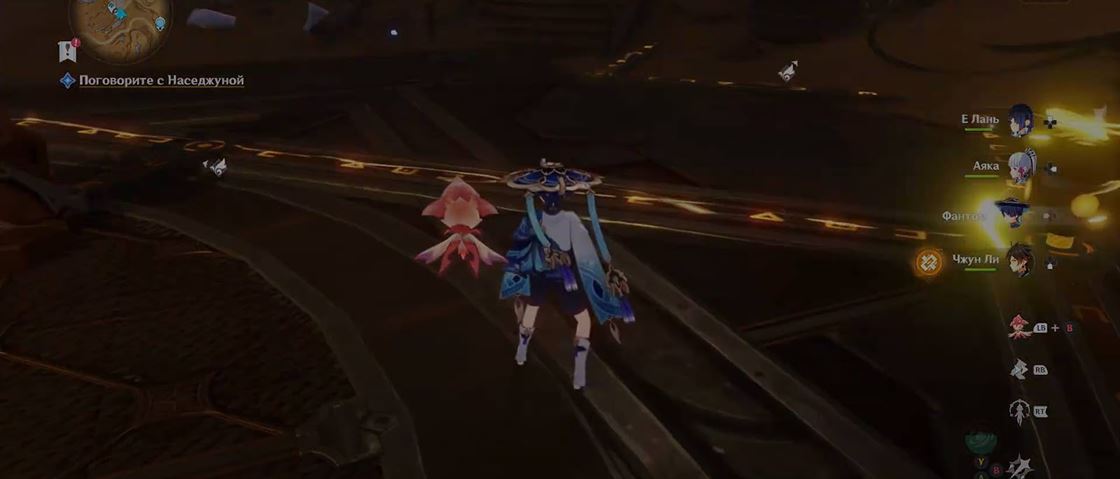
Войдите в руины
Заходим в только что открывшийся проход. Двигаемся вперед, по пути не забываем активировать точку телепортации для упрощения дальнейших перемещений по игровому миру.

От точки телепорта продолжаем идти вперед и натыкаемся на очередной барьер, который можно временно убрать при помощи удерживания способности Соруш. Так и поступаем.

Продолжаем двигаться в сторону квестового маркера. Бежать придется долго.
Добравшись до комнаты с четырехлистными символами и испытанием, при помощи этих самых символов поднимаемся наверх.
Проходим сквозь сломанные ворота и двигамся дальше.

Попадаем в комнату с точкой телепорта и загадками.

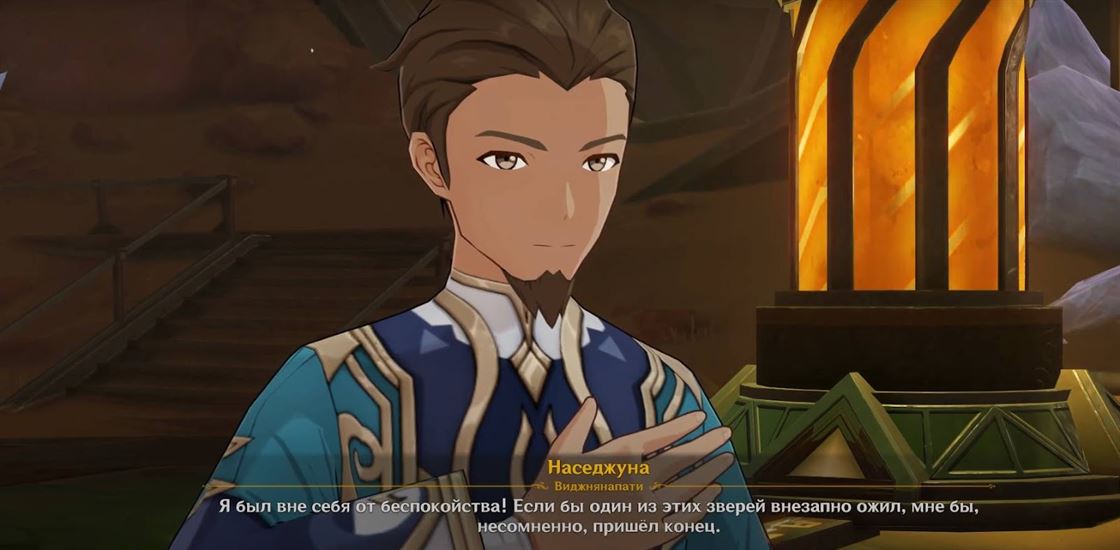
Поговорите с Наседжуной
Добравшись до этой комнаты, начинается автоматический диалог с Наседжуной. Наседжуна в своем стиле рассказывает истории и дает подсказки по решению головоломок. Ждем завершения диалога.
Используйте ядро духа, чтобы соединить цепь и активировать левую дверь механизма
Тут встречается привычная загадка, которую мы проходили в ходе выполнения этапа “Ниродха”. Нужно направить ток в правильном направлении, чтобы открыть проход дальше. Сначала подбираем хварну, чтобы получить возможность уничтожить серый кристалл, который блокирует механизмы.

При этом, некоторые механизмы можно не только поворачивать, но и сдвигать. Просто сдвигаем их таким образом, чтобы ток пошел в сторону пульта управления рядом с дверью, над которым висит маркер.

Должно получиться как на скриншоте.
Поговорите с Наседжуной

Первый дух стоит рядом с механизмом и если его убрать — серый кристалл вновь окутает и заблокирует источник энергии, поэтому не трогаем.

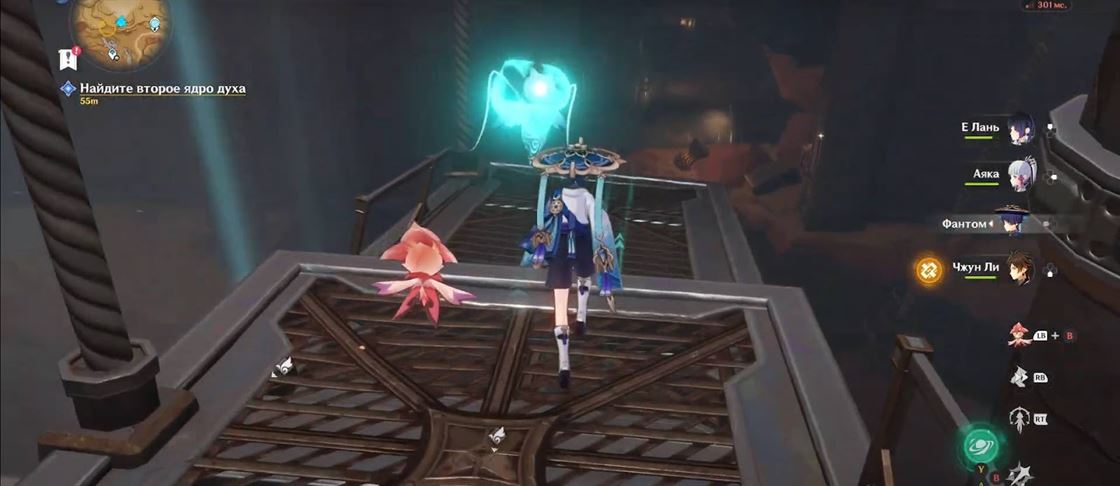
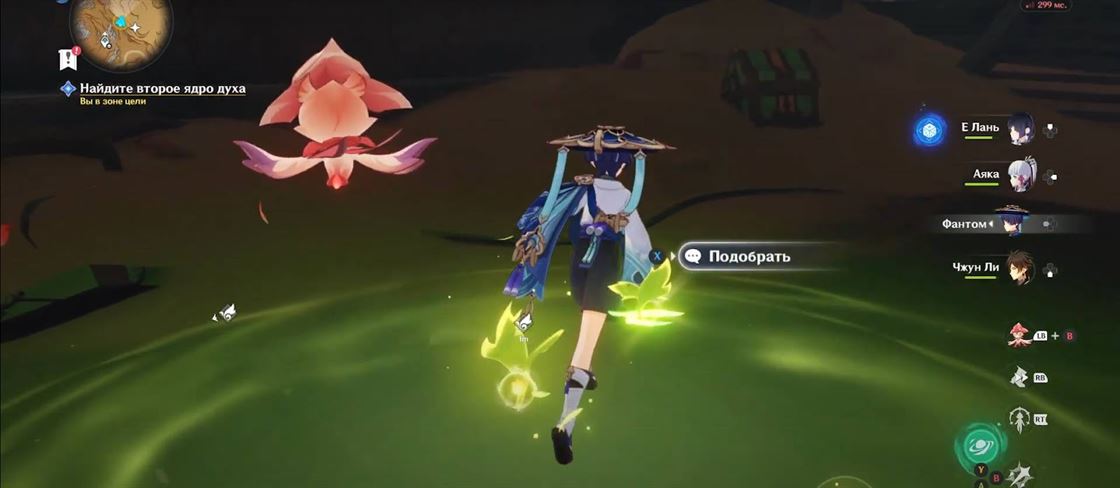
Найдите второе ядро духа
Заходим в только что открывшуюся дверь и двигаемся вперед. Впереди нас ждут хиличурлы, так что предстоит бой.
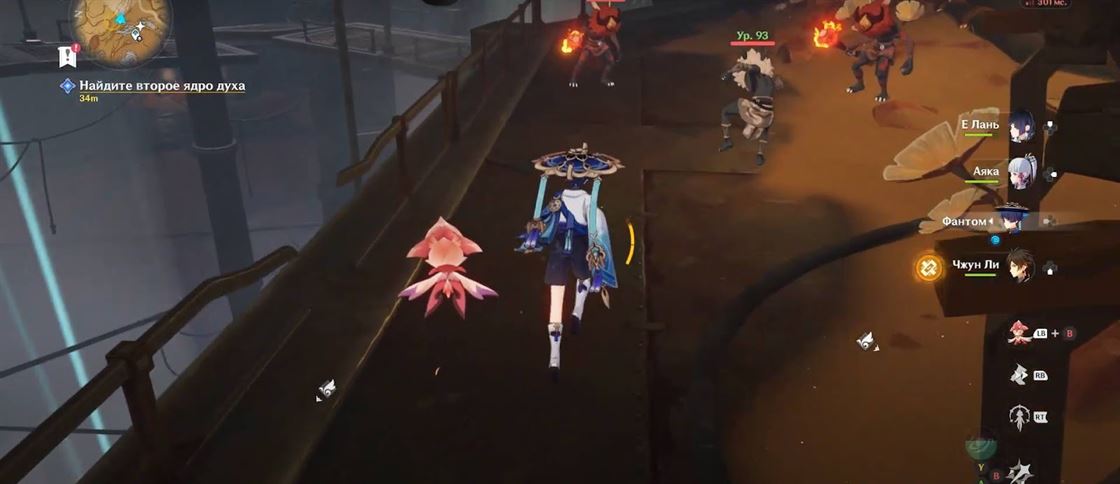
Одолеваем монстров и продолжаем идти вперед. В этой комнате видим духа.
Следуем за ним, пока не доберемся до комнаты с мобами, переключателем и сундуком. Уничтожаем противников.
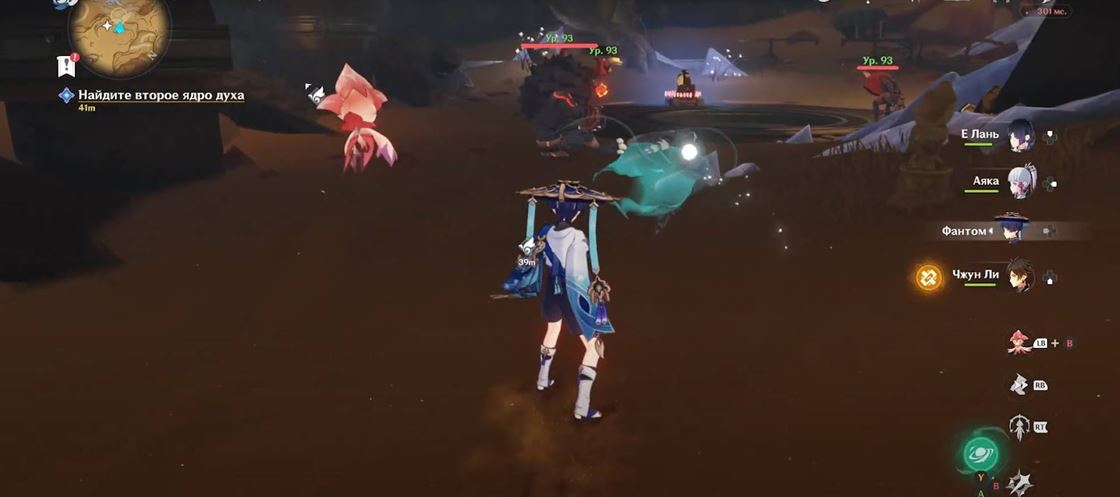
После победы над врагами лутаем сундук. Ранее заблокированный механизм открывается. При взаимодействии открывается не только дверь, но и люк. Прыгаем вниз.
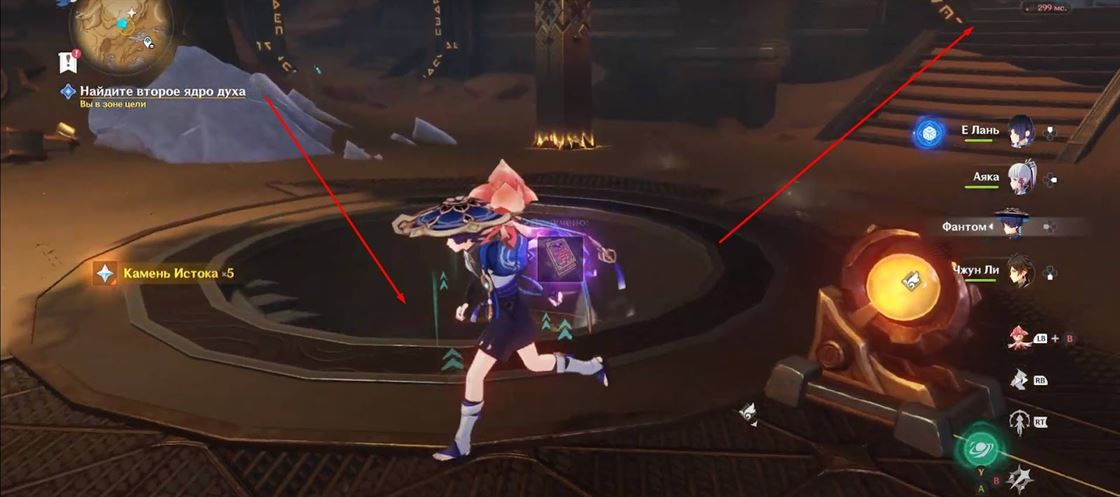
Снизу видим нужную нам хварну.

Впереди видим механизм. Идем туда и взаимодействуем, чтобы спустить воду.
После активации вода исчезает. Берем ядро духа и удивительный сундук.
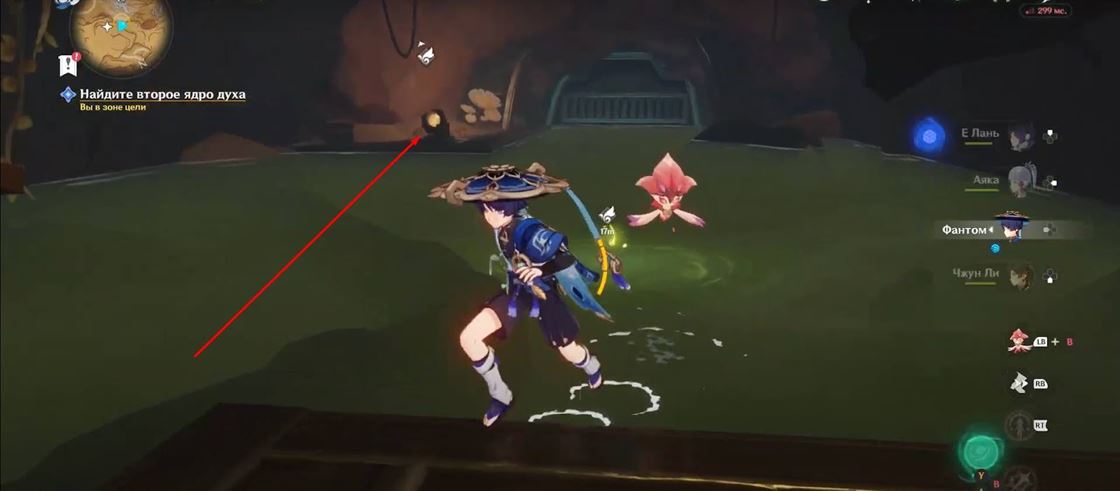
Продолжаем идти вперед.

Поднимаемся по лестнице и движемся в сторону квестового маркера, пока не доберемся до комнаты, где нас ждет Наседжуна.
Добравшись до комнаты, начинается очередной диалог.
Благодаря второму ядру духа (хварне) у нас есть возможность открыть и вторую дверь.

Соедините цепь и активируйте правую дверь механизма
Оставляем ядро духа рядом с указанным механизмом, чтобы уничтожить серый кристалл и получить возможность открыть дверь.

Поворачиваем механизмы так, чтобы поток энергии с двух сторон шел в сторону двери, как указано на скриншоте.

Главный проход наконец-то открыт. Можно двигаться дальше.
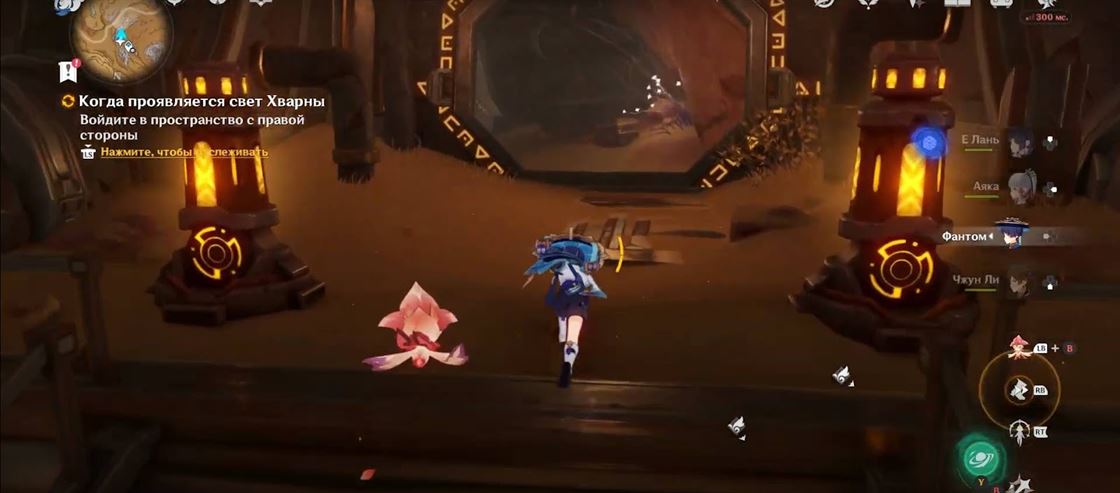
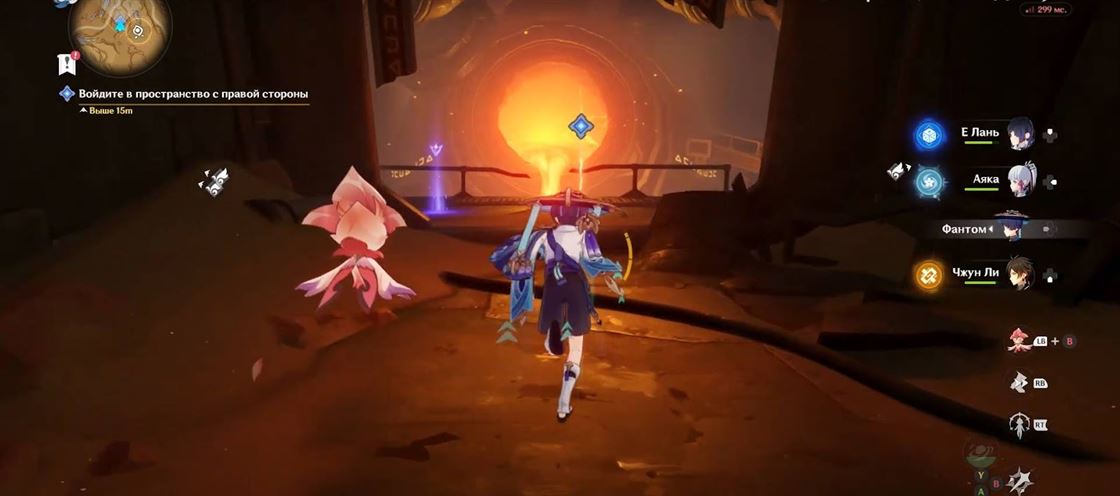
Войдите в пространство с правой стороны
Заходим в только что открывшуюся дверь (с правой стороны) и движемся дальше. По пути встречаются противники, которых нужно одолеть.

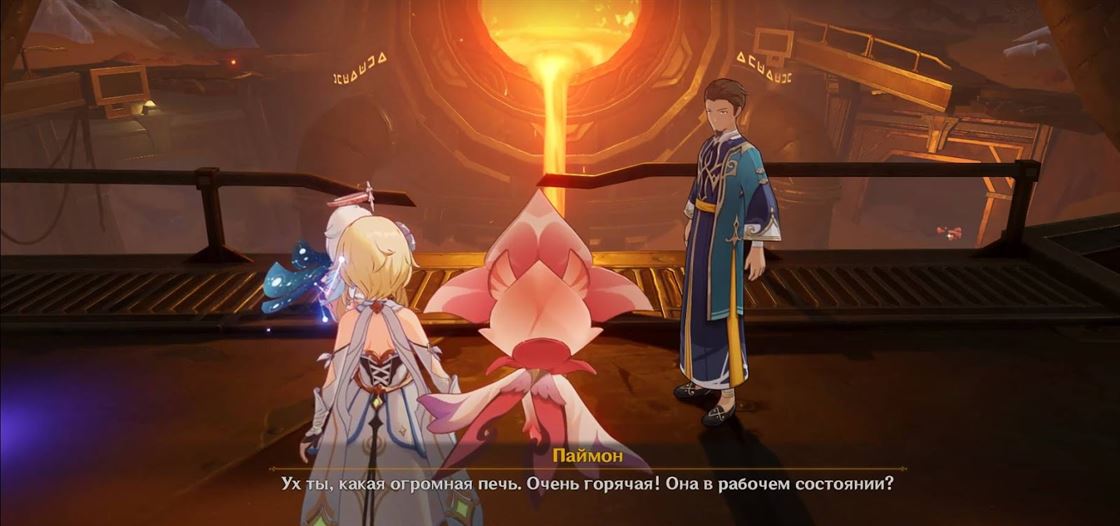
Двигаемся, пока не доберемся до следующей комнаты с огромной печью.
В комнате в очередной раз разговариваем с Наседжуной, чтобы получить инструкцию по дальнейшим действиям.
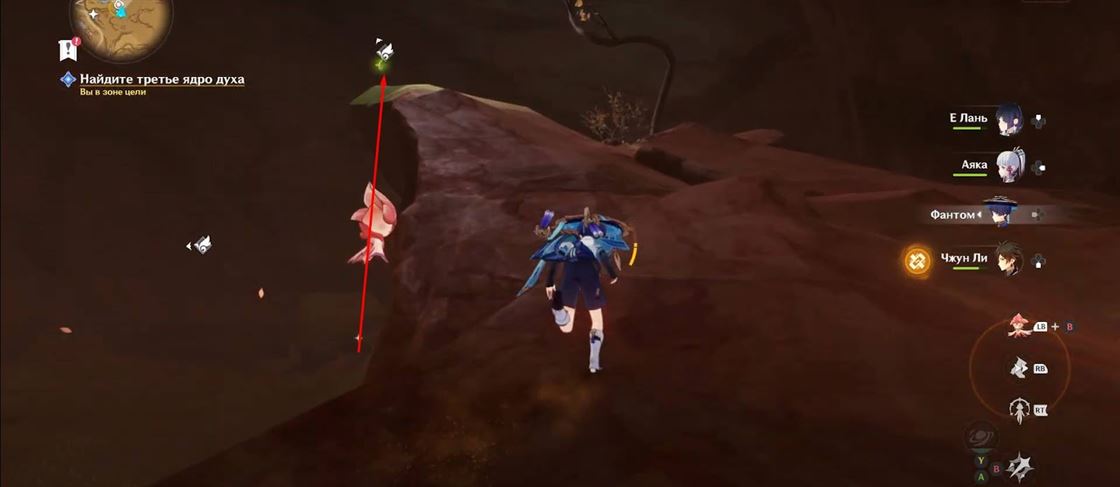
Найдите третье ядро духа
После завершения диалога приступаем к поискам третьего ядра духа. Оно находится очень близко от печи. Просто заходим в дверь, куда ведет квестовый маркер.
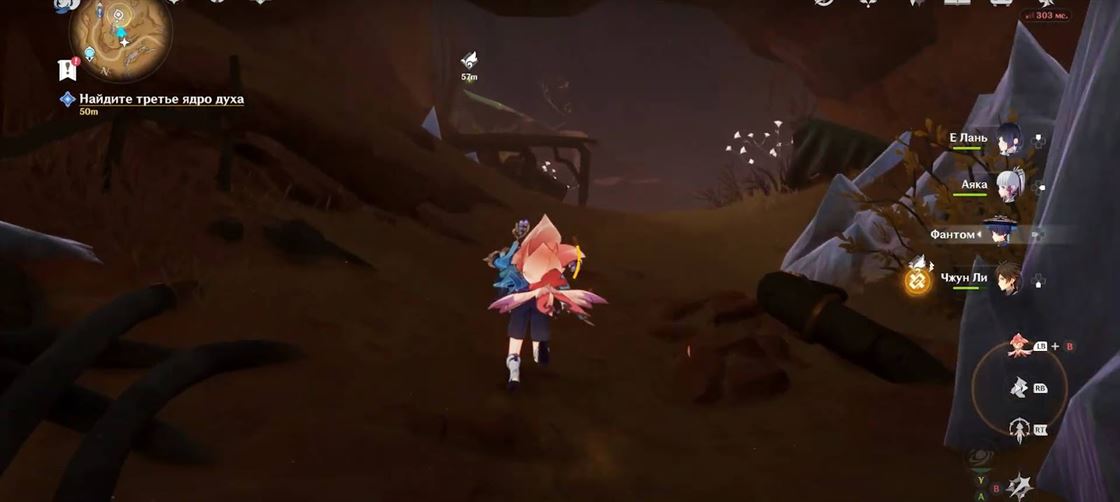
Немного идем вперед и на вершине скалы видим ядро. Поднимаемся и забираем.
Вернитесь по проходу в центр управления
Следуем в сторону квестового маркера и заходим в дверь.
По пути натыкаемся на духа и следуем за ним до самого конца.
Дух ломает серый кристалл вокруг механизма. Взаимодействуем, чтобы открыть путь дальше.

В комнате, куда только что попали, начинается диалог с Наседжуной, который ведет себя все страннее и страннее.
Подсоедините три устройства около подъёмника
Прыгаем вниз к подъемнику, над которым стоит квестовый маркер.
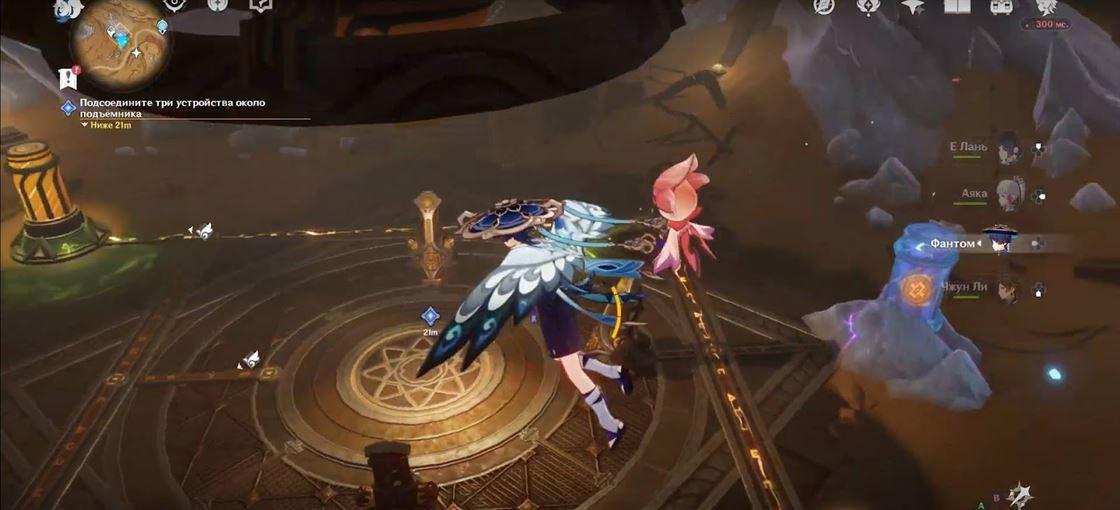
Оказываемся в комнате, где использовали первые 2 ядра духа для открытия дверей. Ставим последнее ядро рядом с последним механизмом, окутанным серым кристаллом.

Теперь направляем потоки энергии к трем механизмам рядом с подъемником, чтобы последний заработал.

Поговорите с Наседжуной
Вновь разговариваем с Наседжуной, он рассказывает про центральный пульт управления, который нужно активировать. Это наша следующая задача.
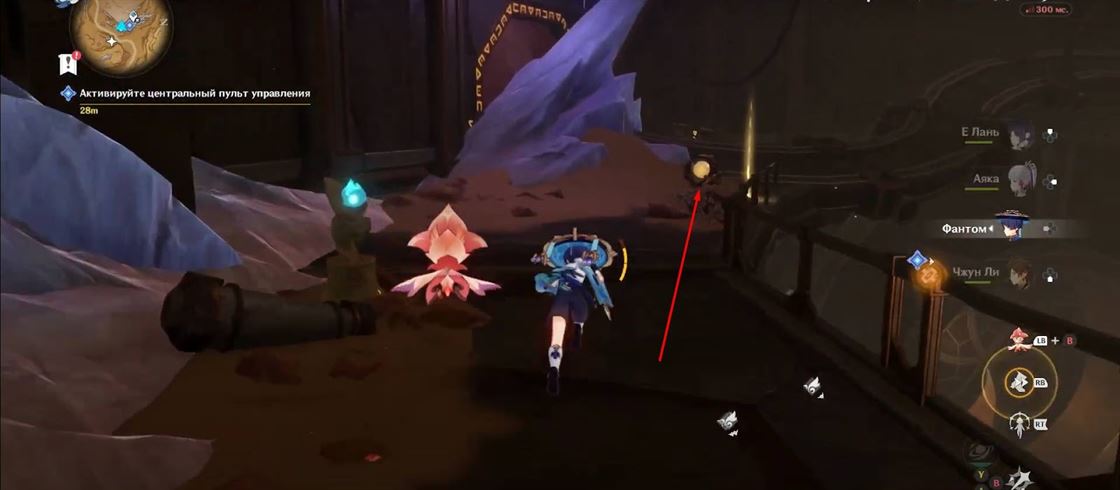
Нужно подняться наверх. Для этого за одним из механизмов находим анемо монумент. Используем на этом монументе анемо способность, чтобы создать воздушный поток и легко подняться наверх.
Активируйте центральный пульт управления
Оказавшись наверху, идем в сторону ранее заблокированного механизма (находится на той же платформе).
Можно взаимодействовать тремя способами: менять верхний, средний или нижний элемент.
- Самый верхний поворачиваем 2 раза (треугольник);
- Средний поворачиваем 1 раз (П);
- Нижний поворачиваем 1 раз (Ш).
После получившейся комбинации лифт активируется.
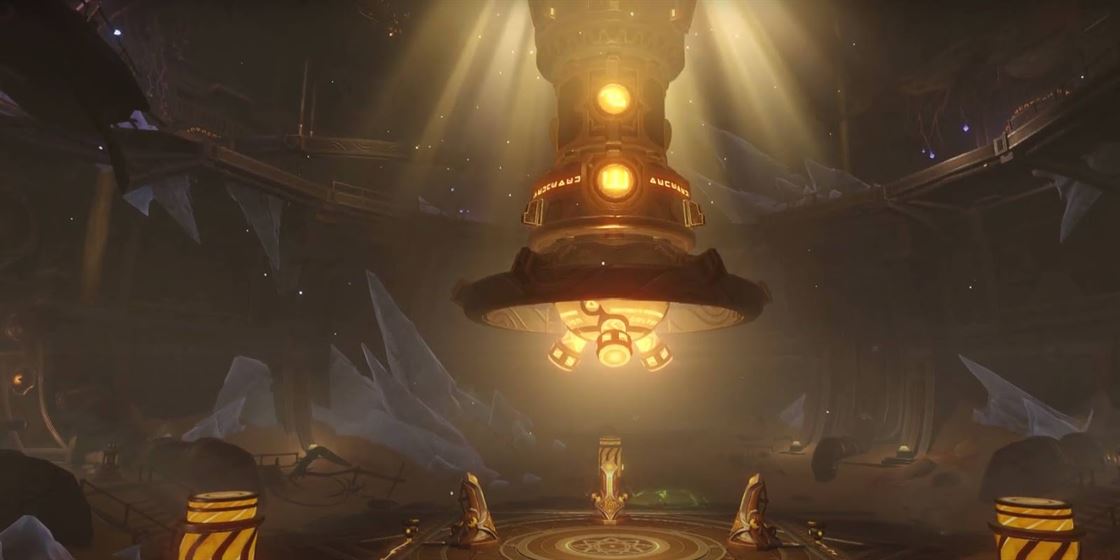
После небольшого разговора Наседжуной идем к лифту.
Идите к подъёмнику
Идем и встаем на платформу подъемника.

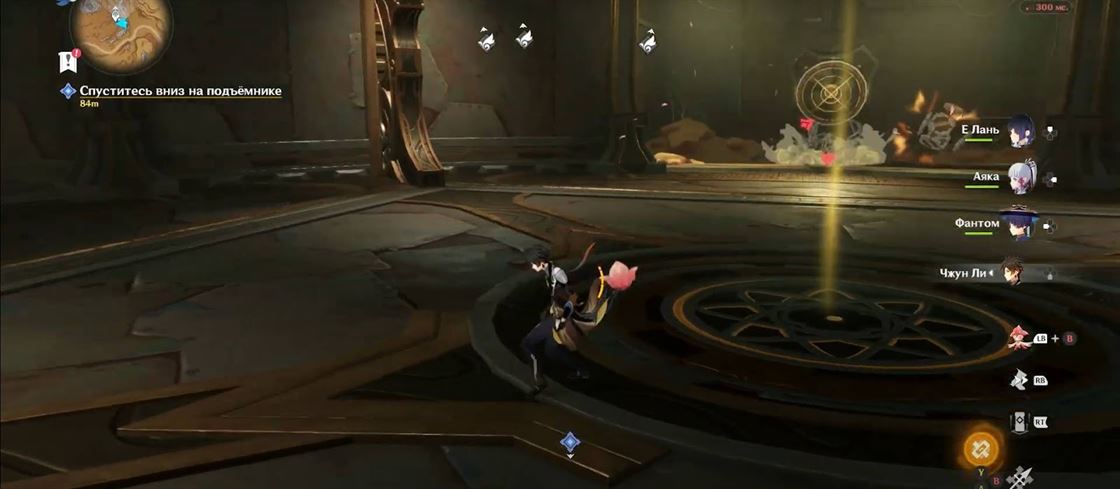
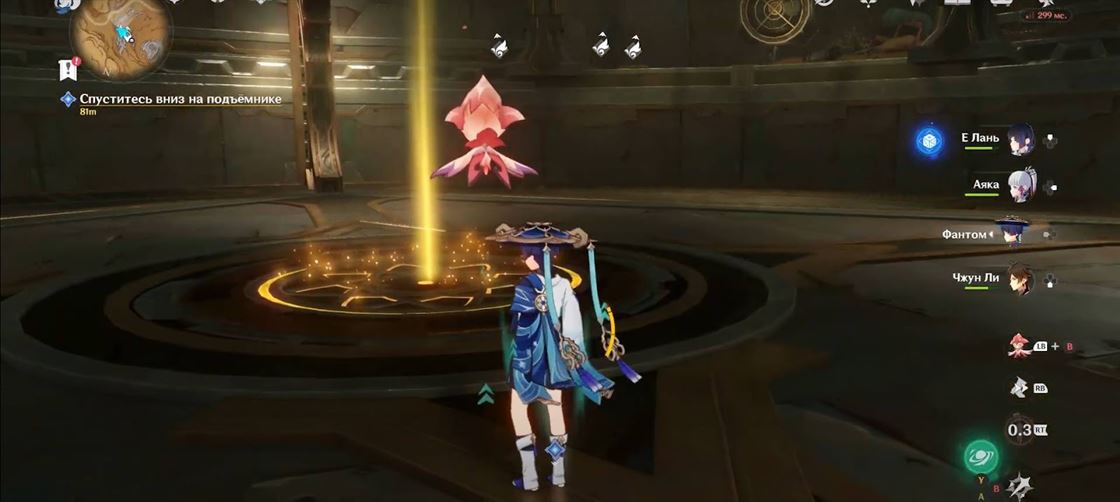
Спуститесь вниз на подъёмнике
Лифт автоматически срабатывает и мы спускаемся вниз. Ждем, пока не окажемся в самом низу.
На этом этапе начинается сражение с опасными противниками. Одолеваем их, после чего вновь встаем на платформу и спускаемся еще ниже.
Вновь идет сражение и снова начинается спуск после победы над врагами.

После последней волны врагов встаем на центральную платформу в форме круга, чтобы спуститься еще ниже.

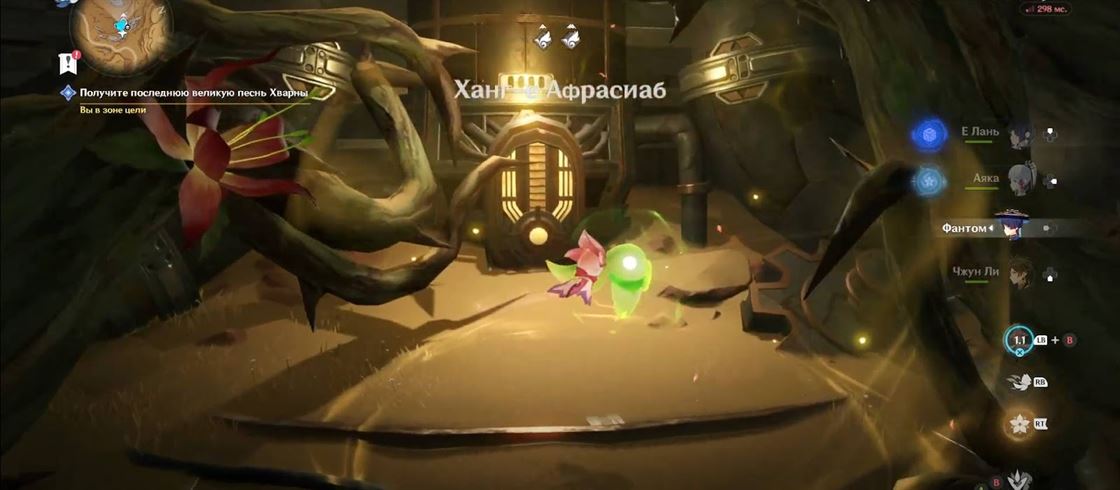
Получите последнюю великую песнь Хварны
Добравшись до самого нижнего этажа, видим великую песнь Хварны. Идем и забираем, играя за Соруш.
Разговариваем с Наседжуной, который ведет себя крайне вызывающе, угрожая Путешественнику.
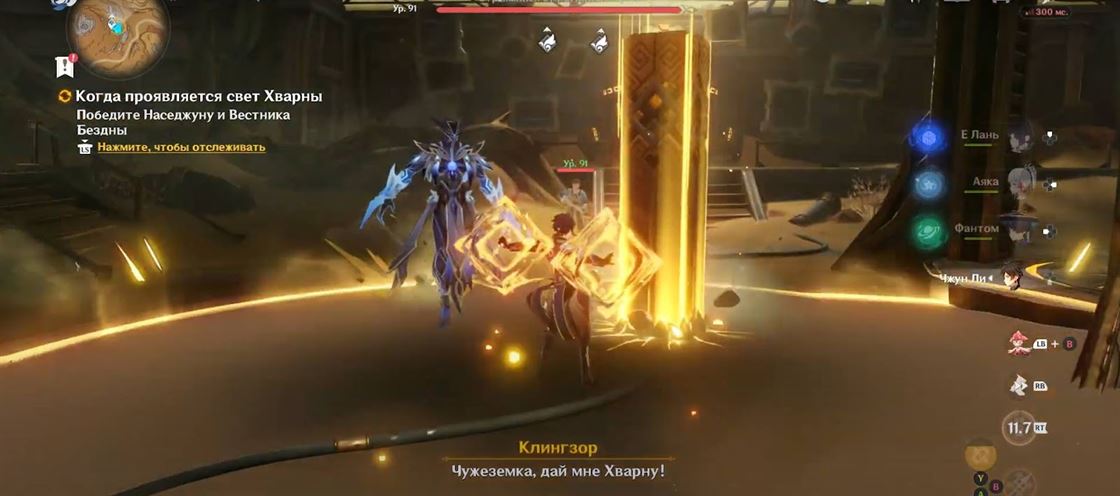
Победите Наседжуну и Чтеца Бездны
Как и следовало ожидать, Наседжуна оказывается предателем. Начинается сражение с ним и чтецом Бездны. Мини боссфайт. Побеждаем противников.
Поговорите с Соруш
Наседжуна во время сражения сбежал. Напоследок разговариваем с союзниками, ждем завершения и получаем награду за успешное прохождение.

Награды
После успешного завершения Когда проявляется свет Хварны путешественники получат следующие награды:
- Примогемы (60 единиц);
- Опыт приключений (500 единиц);
- Мора (50к);
- Опыт героя (5 единиц);
- Волшебная руда усиления (6 единиц).
Видео-гайд
Часть 1
Часть 2
Это все, что вам нужно знать о том, как пройти квест Когда проявляется свет Хварны в Genshin Impact. Теперь вы можете прочесть другие наши гайды по Геншин Импакт, новым квестам, событиями и контентом в игре. Оставляйте ваши комментарии ниже и добавляйте наш сайт в закладки, чтобы ничего не пропустить.